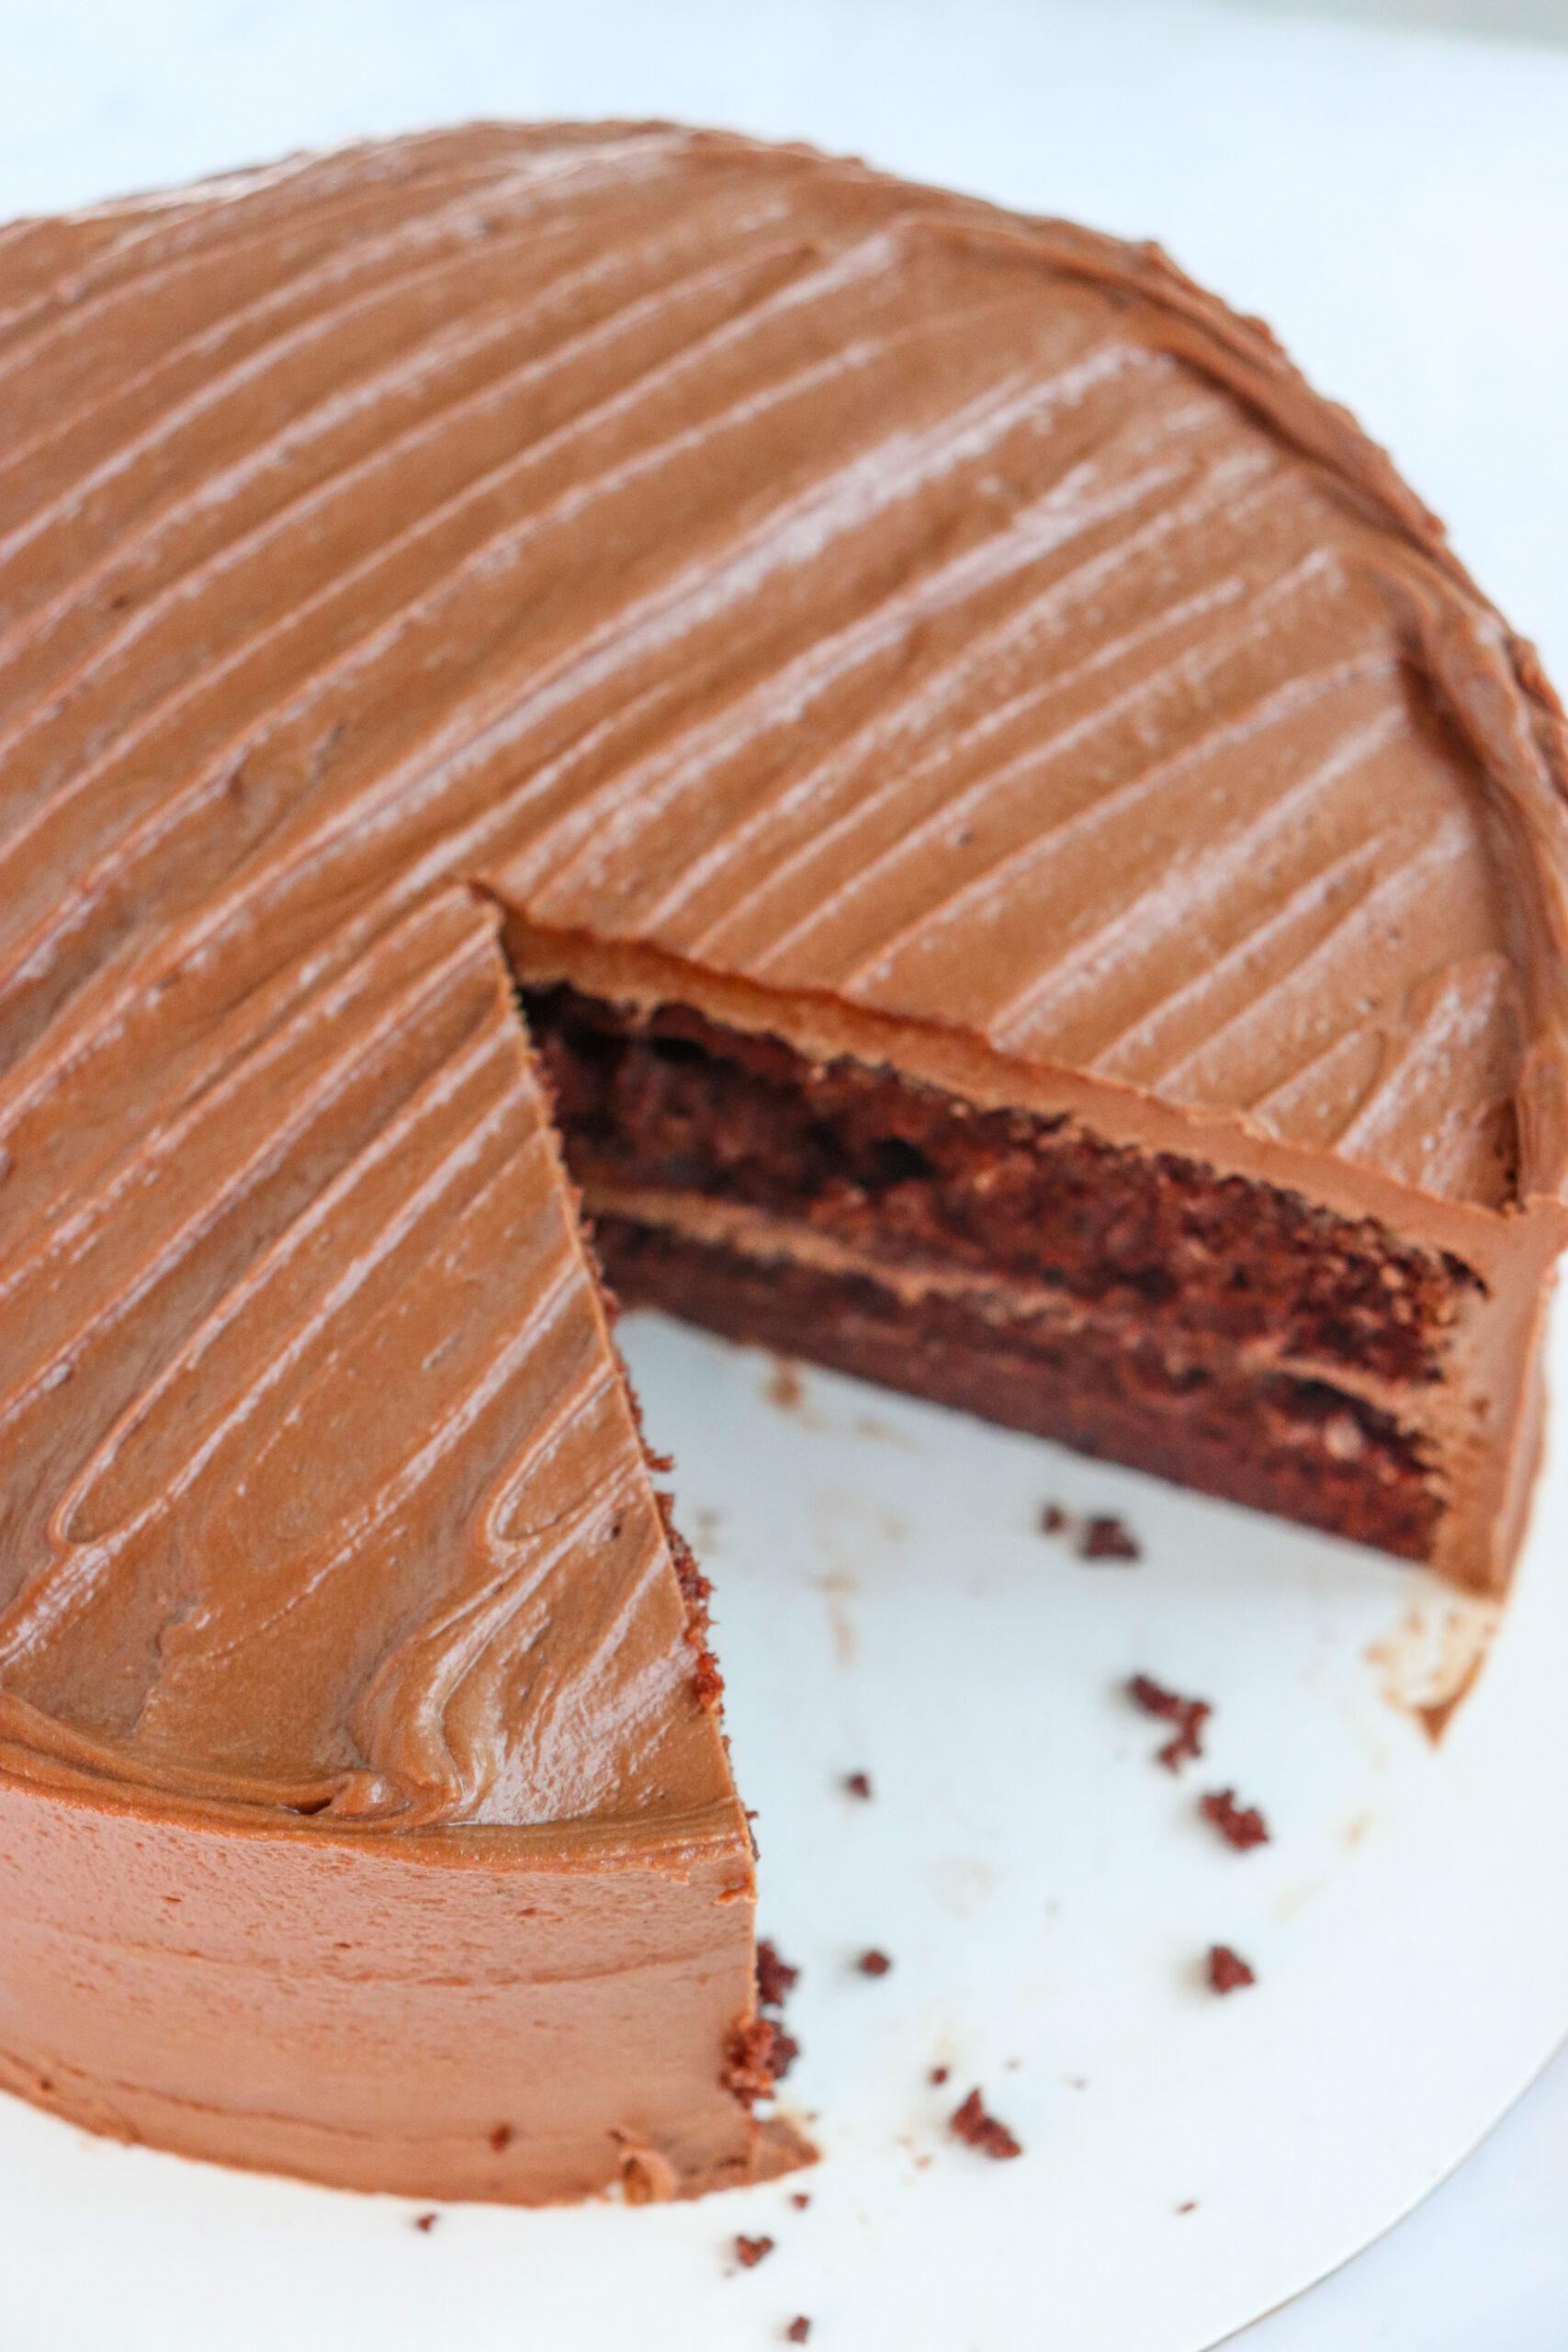
If you’ve tried a mayo cake before, you know how rich and delicious they are. This chocolate cake uses vegan mayo to make a decadent chocolate cake. It’s also beyond easy to make, requiring less than 10 ingredients and just one bowl to make the cake layers. Top it with a simple chocolate buttercream or use your favorite frosting.
Important ingredients for this Chocolate Mayo Cake
All-purpose flour: This helps create structure in the cake. Measure your flour using the spoon-and-level method to ensure your cake doesn’t turn out dry.
Baking soda and baking powder: These are the leavening ingredients. They’re extremely important to cause the cake to rise, as there are no eggs in this recipe.
Unsweetened natural cocoa powder: This adds the chocolate flavor to the cake. Opt for unsweetened natural cocoa powder over dutch process.
Vegan mayo: This is called a Chocolate Mayo Cake. The addition of mayo (I used Hellmann’s Vegan Dressing and Spread) creates a rich, fudgy chocolate cake and cannot be substituted.
Vanilla extract: This adds a delicious rich flavor to the cake. You should use pure vanilla extract for the best flavor.
Warm water or coffee: You’ll add this in at the end. It helps create a silky smooth batter and breaks up any remaining cocoa powder chunks. Using coffee intensifies the chocolate flavor without actually adding a coffee flavor to the cake, however, you can use water if you don’t have coffee. Be sure the liquid you use is warm.
Tools and Accessories Used
Kitchenaid Mixer: While not necessary, I love using my Kitchenaid mixer when making cakes. It helps make smooth batter and fluffy buttercream.
Rubber Scraper: You’ll need one of these to scrape the sides of the bowl. I also like use it to stir my buttercream by hand a bit to remove air bubbles before using.
8″ Round Cake Pans: You’ll need two of these to bake your layers.
Parchment Rounds: I line my cake pans with parchment rounds and spray them with nonstick spray so that the cake layers easily come out of the pans.
Kitchen Scale: While not necessary, it’s helpful to use a kitchen scale to divide your cake batter evenly between pans. You can also weigh your ingredients.
Cake Board: I recommend frosting your cake on top of a 9″ cake board for easy transfer and easy cleanup.
Offset Spatula: You’ll use this to spread the frosting.
Cake Scraper: Use this to create perfectly smooth edges.
Rotating Cake Stand: You’ll want to continuously turn the cake while frosting it to ensure smooth sides.
Piping Bag and Wilton 2D Tip: These are necessary to create the cute swirls around the top of the cake.
Frosting options for this cake
This cake is coated in a Chocolate Ganache Buttercream. However, if you want the look of a classic white cake, check out my vanilla buttercream recipe. It would also be delicious paired with my Biscoff cookie butter buttercream.
Tips and tricks
Measure your flour and cocoa powder correctly: Use the spoon-and-level method or weigh your flour and cocoa powder to ensure this cake doesn’t turn out dry.
Don’t overmix: For the best results, you should mix the dry and wet ingredients together until they are just combined. If you overmix, it can result in an overly dense and chewy cake.
Don’t overbake: The cake is done if a toothpick entered into the center comes out with no raw batter. It’s okay if there are some crumbs on the toothpick.
Softened butter: You’ll want the butter to be softened when making the buttercream. I recommend bringing it out of the fridge about 30 minutes to one hour before using.
Cool the layers completely: Prior to frosting, cool the cake layers completely. Don’t skip this step or you’ll have melty buttercream and maybe even broken layers. You may want to freeze them for at least 30 minutes or make them in advance to make them easier to frost.
Chocolate Mayo Cake
Ingredients
- 2 cups (250 g) all-purpose flour (spooned and leveled or weighed*)
- 1/3 cup (33 g) unsweetened natural cocoa powder
- 1 1/4 cups (300 g) granulated sugar
- 1 tsp baking powder
- 1 tsp baking soda
- 1/4 tsp salt
- 1 cup (226 g) vegan mayo, at room temperature
- 1 cup (240 mL) warm water or coffee
- 1 tsp pure vanilla extract
- 1 batch Chocolate Ganache Buttercream
Instructions
- Make the cake layers: Preheat the oven to 350°F. Prepare two 8" round pans with parchment paper on the bottoms and non-stick spray around the sides.
- In a large mixing bowl or the bowl of a stand mixer fitted with a paddle attachment, whisk the flour, cocoa powder, sugar, baking powder, baking soda, and salt. Add the mayo, water, and vanilla and beat with a hand or the stand mixer until just combined.
- Distribute your cake batter evenly between the pans (using a kitchen scale can help with this). Bake in the preheated oven for 28-32 minutes, until a toothpick inserted into the center comes out clean or with just crumbs. Allow the layers to cool completely and, if desired, wrap in plastic wrap and freeze before beginning to frost.
- Frost and decorate the cake: Place a cardboard cake board on top of a rotating cake stand. Spread a small amount of frosting in the center of the cake board. Place the first cake layer on top of the cake board. Spread a layer of Chocolate Ganache Buttercream evenly over the cake layer. Place the second cake layer, upside down, on top. Spread a thin layer of the frosting all over the cake (this is your crumb coat). Freeze for at least fifteen minutes.
- Using your offset spatula, spread a thick layer of the frosting all over the cake.
- Serve: Serve this cake the same day as frosting it, or place in the fridge until serving. Store any remaining cake in an airtight container in the fridge or freezer.