Sometimes you want to simply frost a cake without using any crazy tools or special skills. What I love about this technique is that you just need an icing spatula to create a beautiful design. It’s perfect for beginners or anyone who doesn’t want to spend a long period of time perfectly frosting a cake.
Why you’ll love this design:
- It’s perfect for beginners
- You need just a few tools and accessories
- It’s pretty on any flavor of cake!
Tools and Accessories Used
Revolving Cake Stand: You’ll need to continuously spin your cake while creating this design
Cake Board: You’ll want one of these so you can easily transfer your cake
Cake Scraper: I prefer to use a cake scraper to smooth out the edges of the cake when doing the crumb coat and the second coat
Offset Spatula: This is the most important tool you’ll need for this cake

Prepare the cake
- Bake and freeze. Bake your cake layers (I made three layers for this cake) then allow them to cool completely. If desired, wrap each layer separately in saran wrap and freeze.
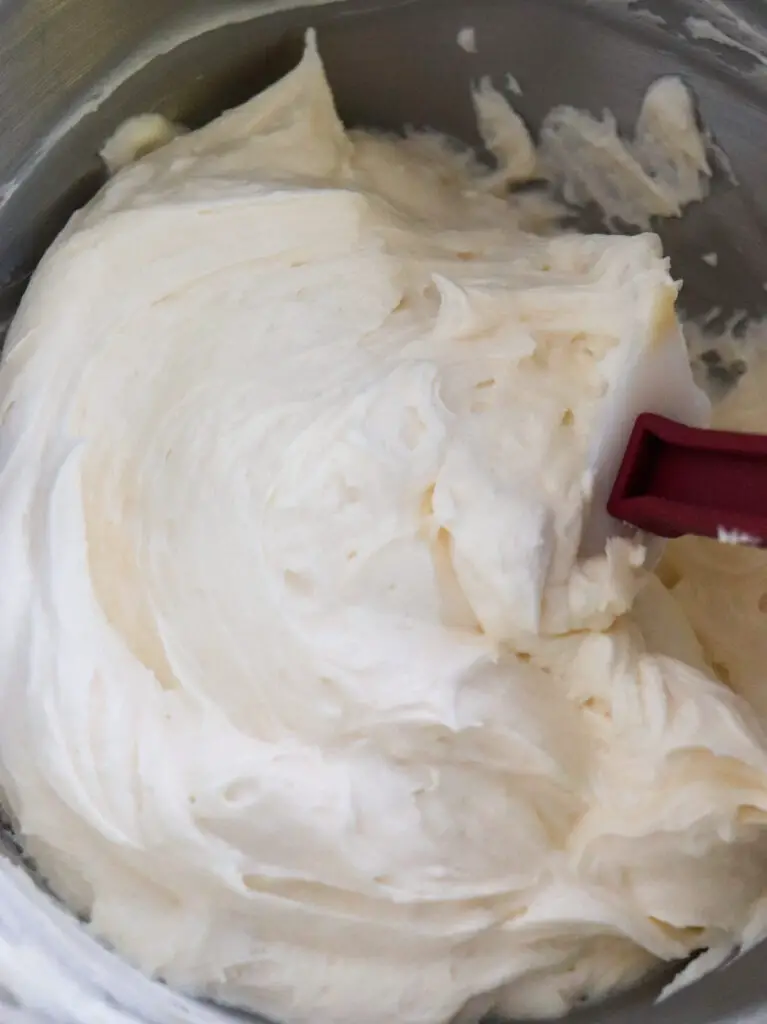
- Make your buttercream. I used classic vanilla buttercream for this cake.
- Layer. Set a cardboard cake round on a turntable. Place a small dollop of buttercream in the center of the cake round.
- Place your first cake layer on the cake round, centering it. Use your icing spatula to spread a layer of buttercream on top of the cake layer.
- Place the second cake layer on top of the buttercream. Spread another layer of buttercream. Place the final cake layer on top, upside down.
- Crumb coat. Spread a thin layer of buttercream over the entire cake. Place in the freezer for 15 minutes. This traps in all of the crumbs – if you’re interested in reading more about this, check out How to Crumb Coat a Cake.
- Final coat.Spread another, thicker layer of buttercream over the crumb coat. Spread it evenly around the cake, however don’t worry too much about making it perfectly smooth.
Create the design
- Clean off your icing spatula.
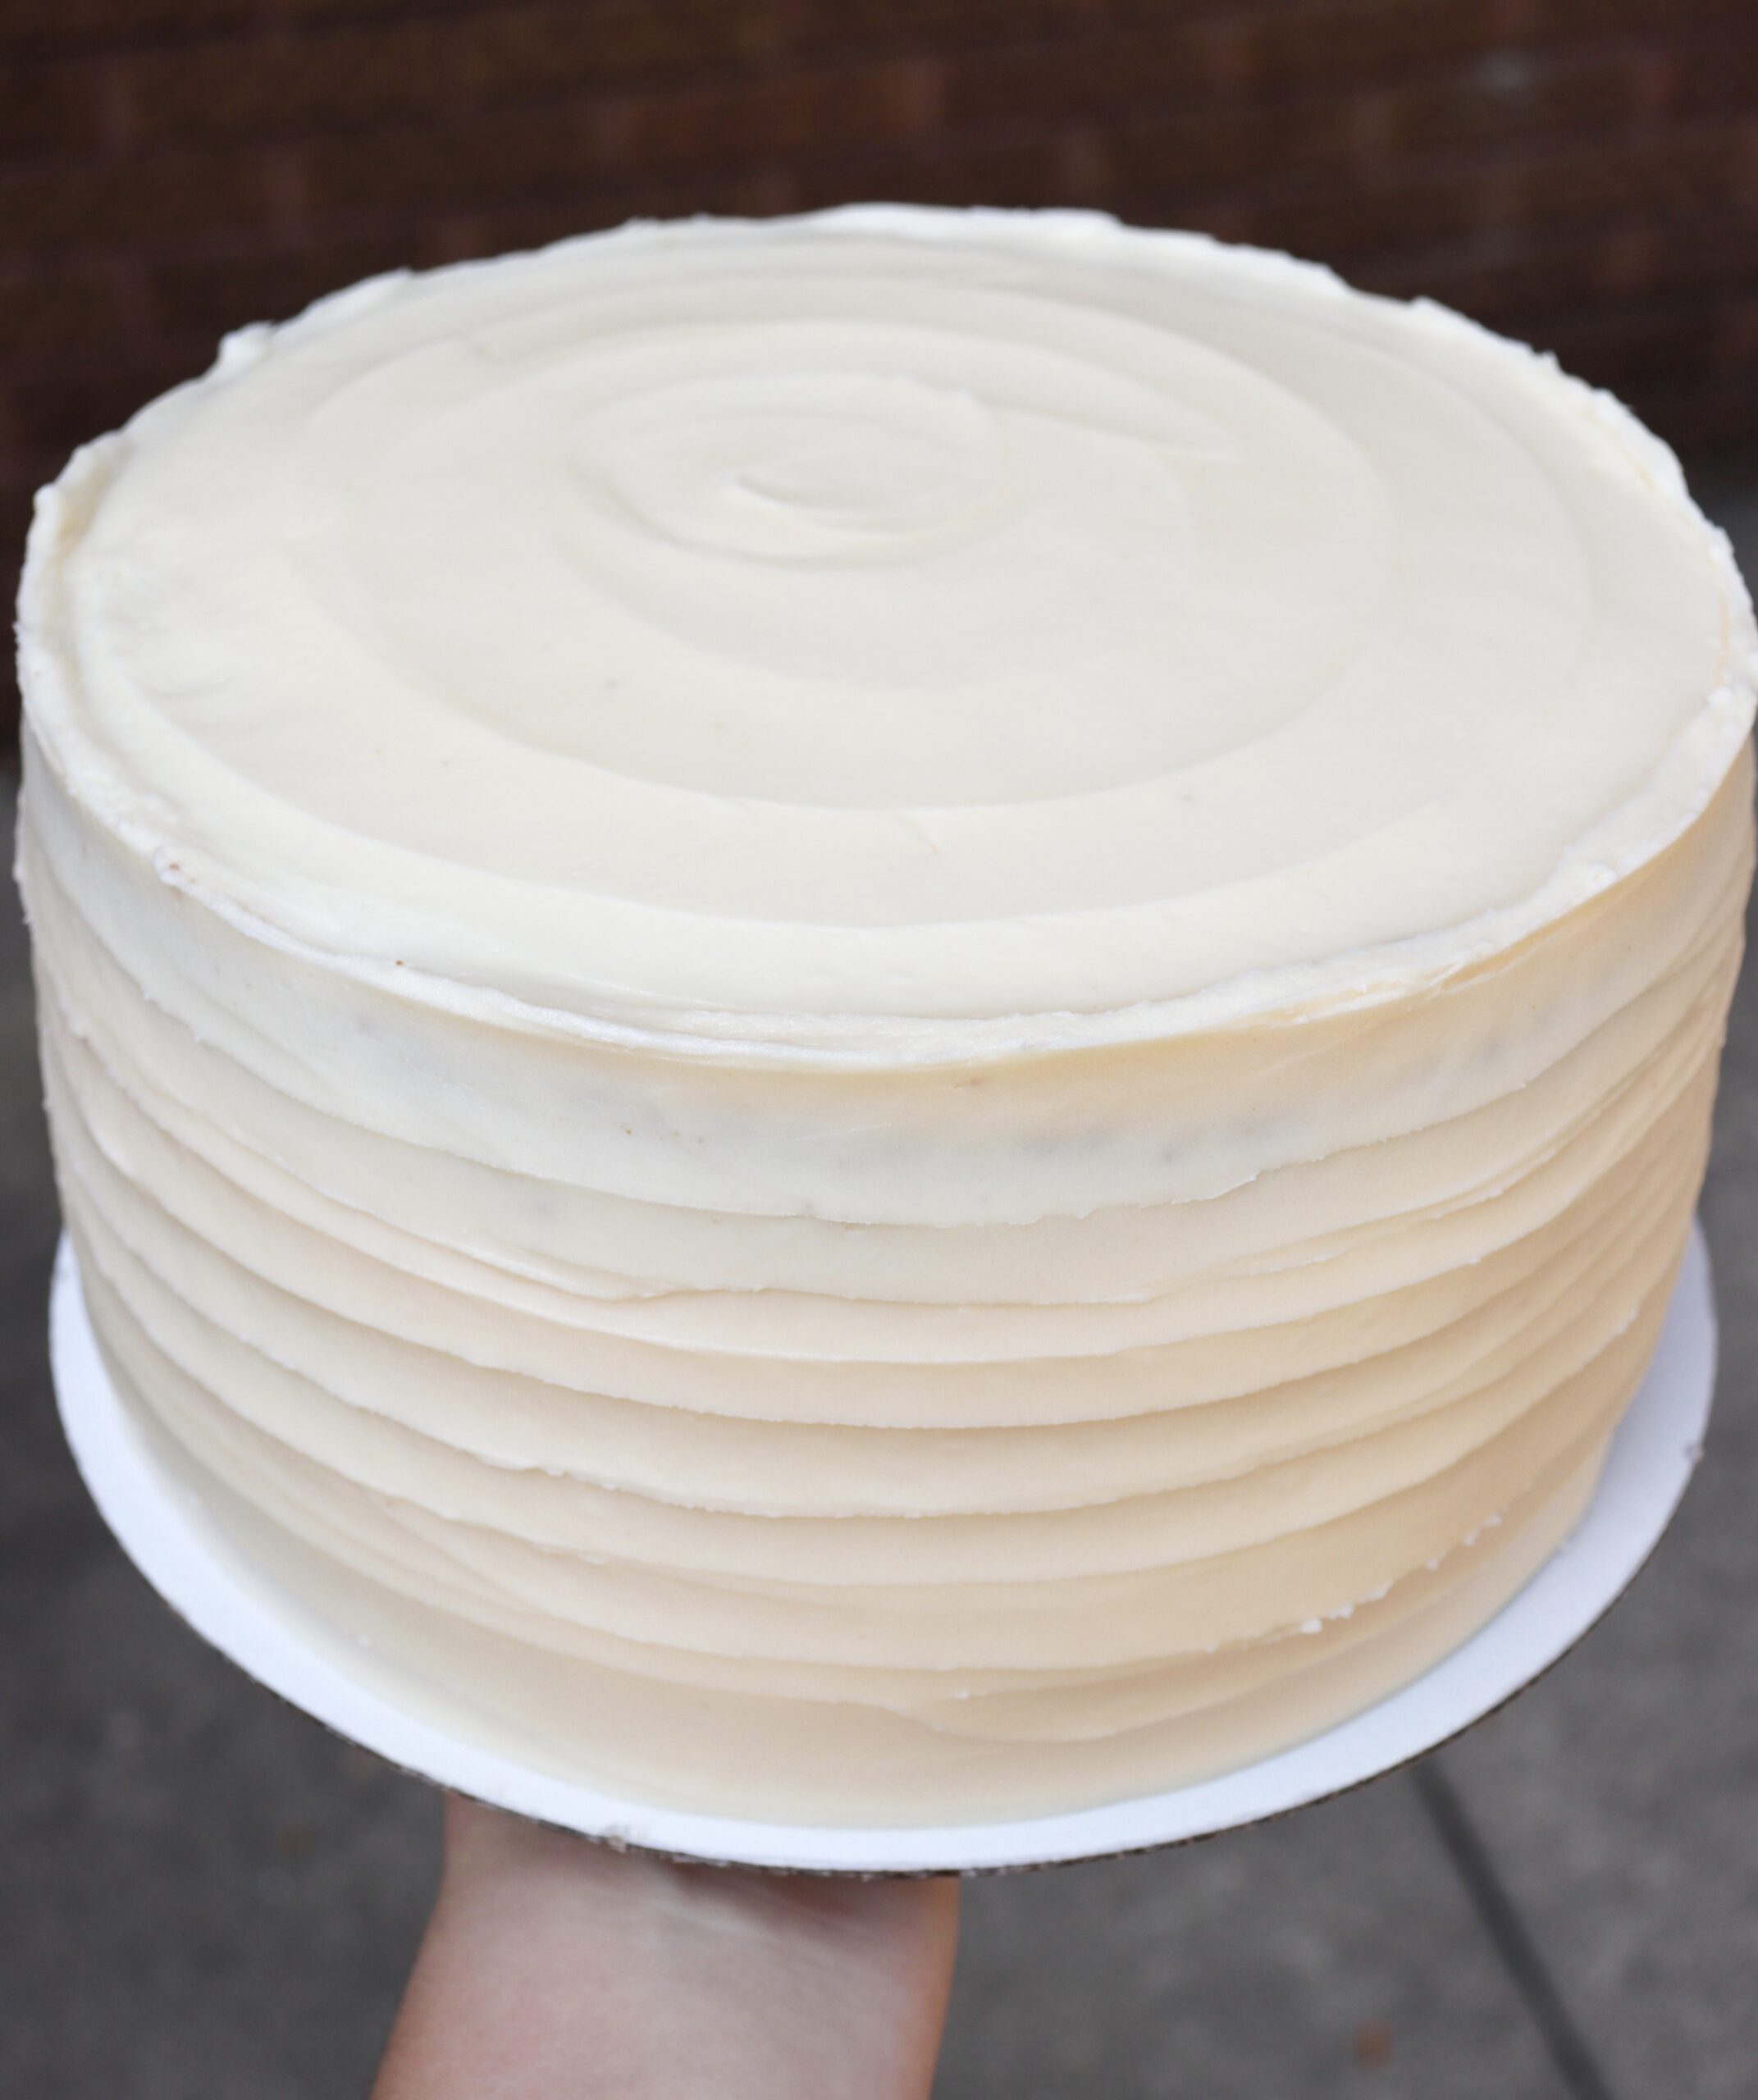
- Begin the design. Beginning at the bottom of the cake, turn your spatula so that it is horizontal and press it against the cake. Gently spin the turntable, keeping pressure against the side of the cake. Once you have turned the cake 360°, you should see a smooth imprint around the bottom of the cake. However if it isn’t as smooth as you’d like, you can spin it again, keeping the icing spatula pressed against the same spot.
- Repeat. Scrape off any excess frosting that’s on your spatula. Move the spatula directly above the first imprint and repeat the above steps.
- Continue to move up the cake, scraping off excess frosting as necessary, until you get to the top of the cake.

Cake and Frosting Options
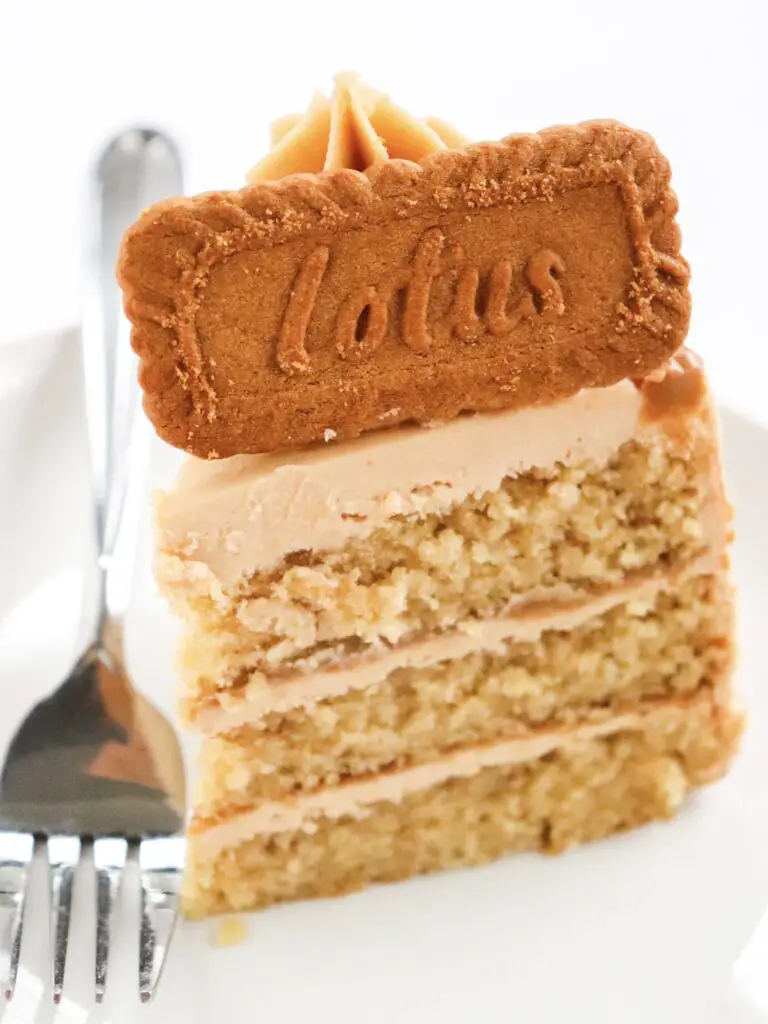
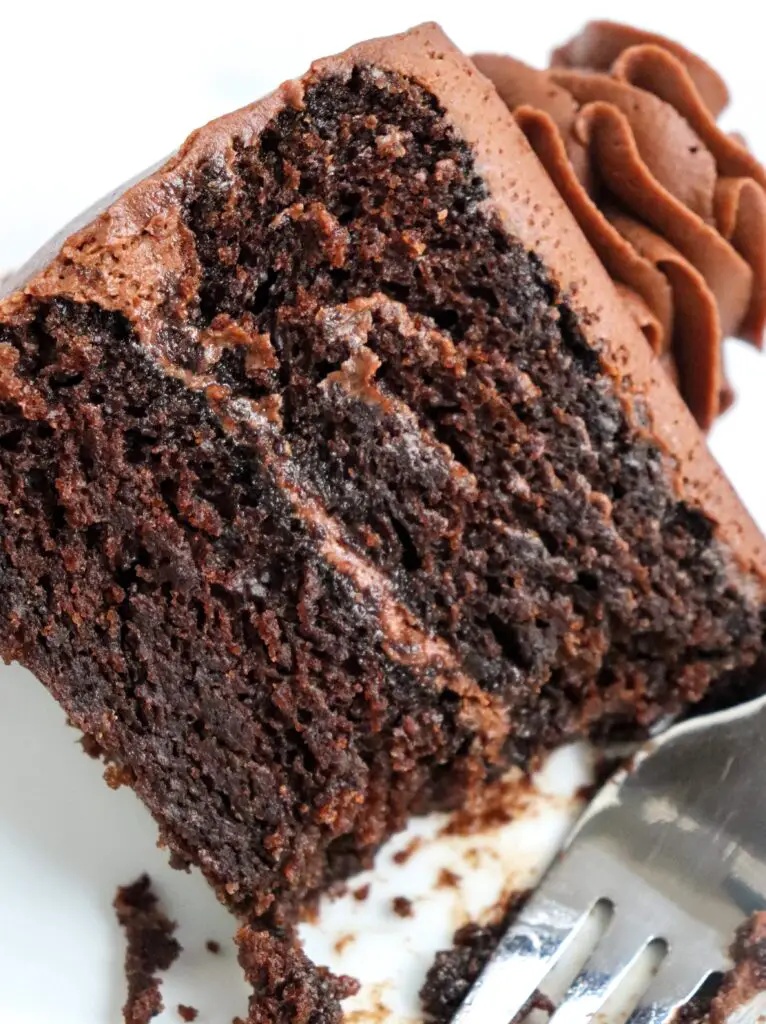
You can use virtually any flavors for the cake and frosting. Shown here is a classic vanilla cake, but try this design on a cookie butter cake or chocolate cake.
Let me know your thoughts!
If you love this recipe or have any questions, leave me a comment with a rating below. I also love to see your creations on Instagram, so make sure to tag me @marykatesvegancakes so I can see and repost!
Simple Frosting Technique Using an Offset Spatula
Instructions
- Begin with a frosted cake. It doesn't have to be perfectly smooth. Clean off your icing spatula.
- Beginning at the bottom of the cake, turn your spatula so that it is horizontal and press it against the cake. Gently spin the turntable, keeping pressure against the side of the cake. Once you have turned the cake 360°, you should see a smooth imprint around the bottom of the cake. However if it isn’t as smooth as you’d like, you can spin it again, keeping the icing spatula pressed against the same spot.
- Scrape off any excess frosting that’s on your spatula. Move the spatula directly above the first imprint and repeat the above steps.
- Continue to move up the cake, scraping off excess frosting as necessary, until you get to the top of the cake.
- Continue around the top of the cake, moving inwards. Serve as-is, or add more decorations as you'd like!